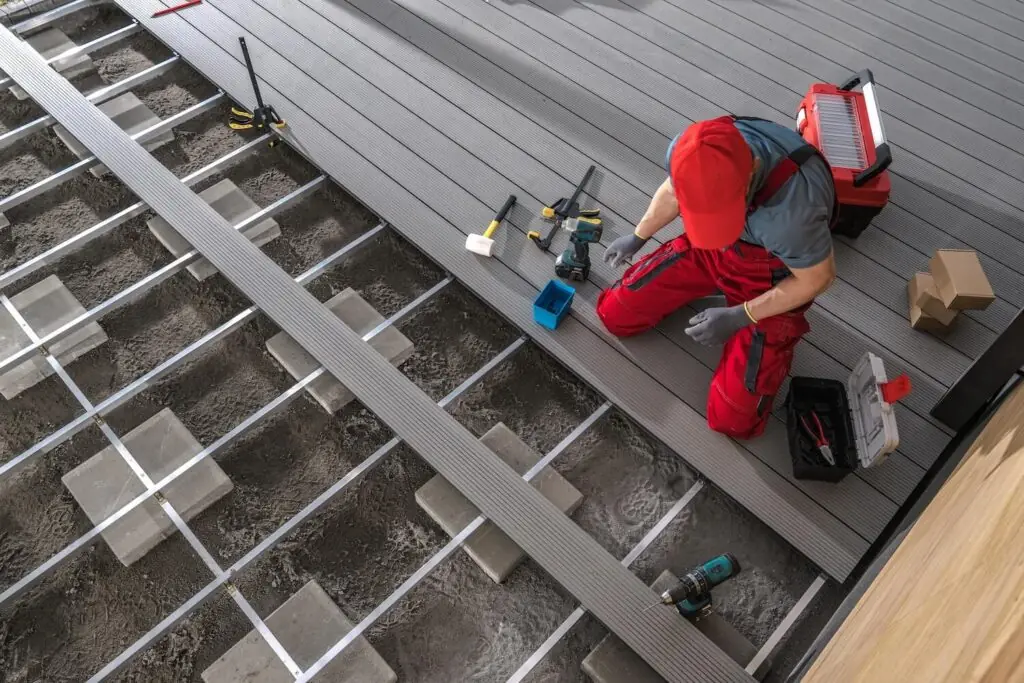
eck Building Best Practices for Safe, Long-Lasting Decks
Following proven deck building best practices saved a client of mine in Minnesota from a total structural tear-down after a previous crew set posts directly into shallow dirt. Within two winters, frost heave lifted the outer beam by three inches and pulled the ledger bolts straight out of the rim joist. Most deck failures trace back to hidden framing shortcuts rather than surface boards.
Whether you hire a licensed contractor or pull permits yourself, structural safety starts below grade and behind your siding. Let us walk through the exact footing depths, ledger flashing steps, fastener metallurgy, and railing codes that separate a 30-year deck from a safety hazard.
Deck Building Best Practices From the Ground Up
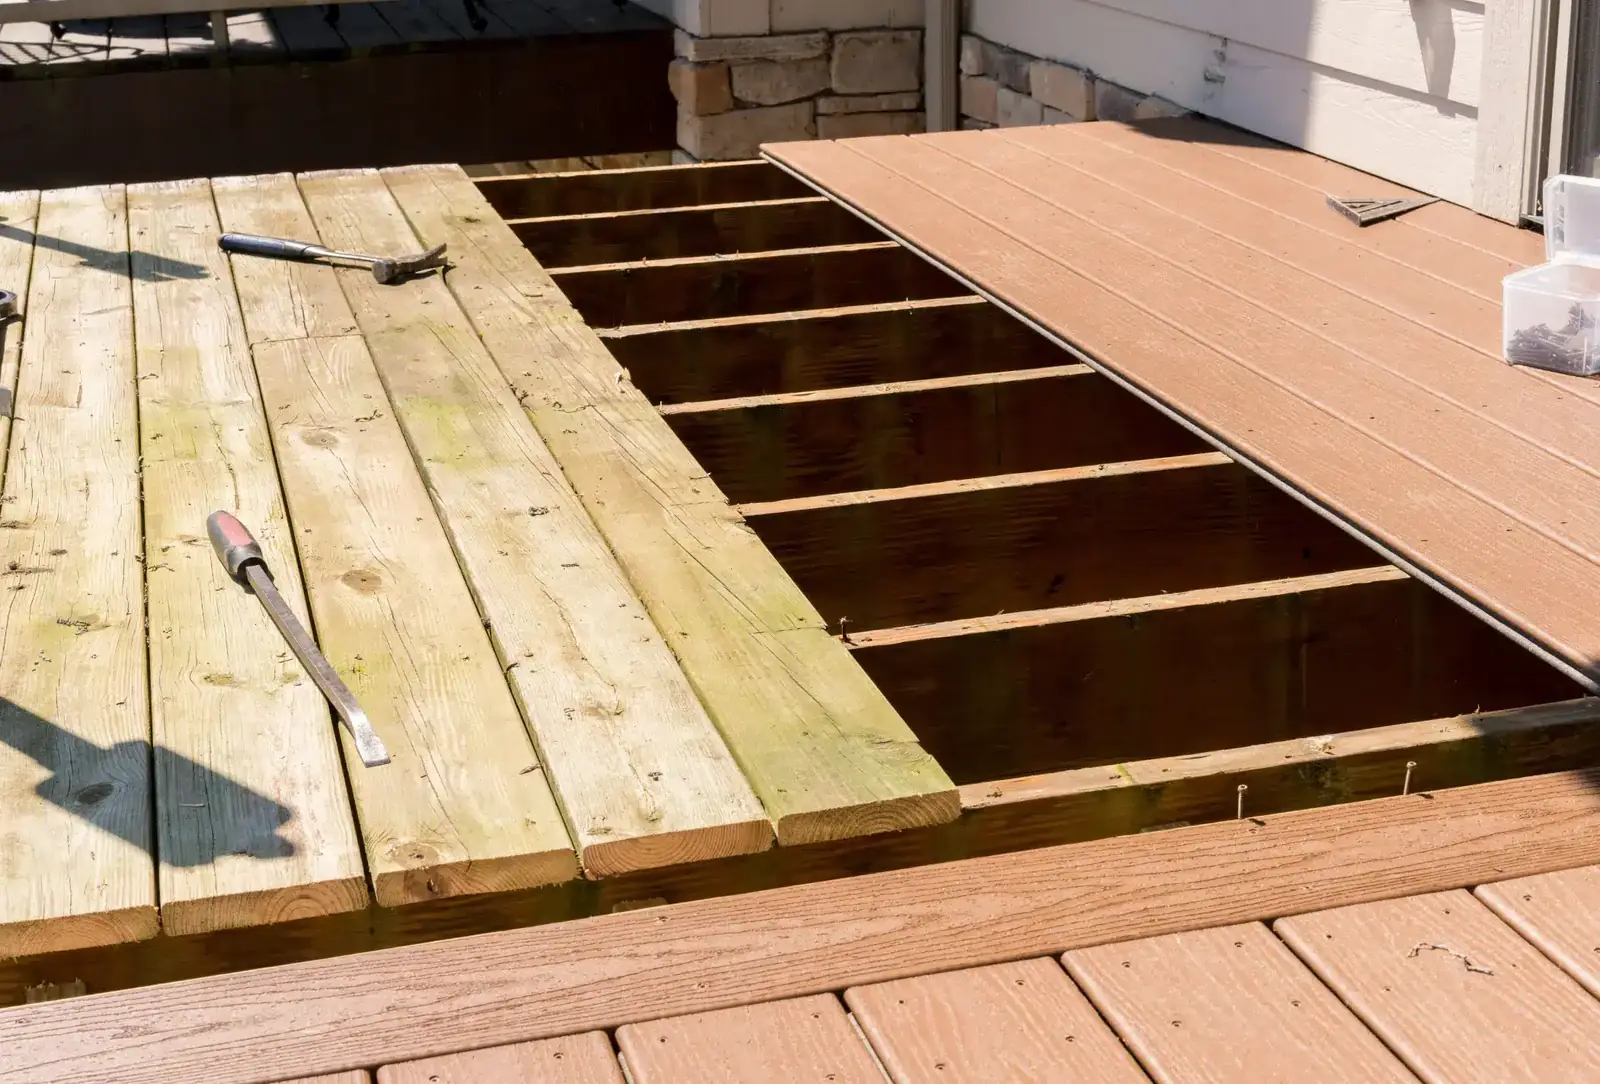
Every reliable outdoor structure rests on undisturbed soil below the local frost line and uses properly graded framing lumber. Skipping concrete bell footings or stretching joist spans beyond span tables leads to bouncy floors and sunken corners. Smart builders lock in the foundation geometry before a single deck plank arrives on site.
Footings and frost depth requirements
Digging below the local frost line
Concrete piers must extend at least six inches below your municipality’s frost depth, which ranges from 12 inches in Texas to 48 inches in northern states. Pouring concrete on loose backfill dirt invites immediate settling once spring rain saturates the soil. Always bell out the bottom of each footing hole or use a wide footing form to resist upward frost heave.
Isolating wood posts from wet concrete
Never bury pressure-treated 6×6 posts inside wet concrete, because trapped moisture rots wood fibers right at the ground line within eight years. Anchor galvanized standoff post bases like Simpson Strong-Tie ABU66Z into cured concrete piers using cast-in anchor bolts or epoxy anchors. Standoff brackets elevate the wood end grain one full inch above damp concrete surfaces.
Framing lumber selection and spacing
Ground-contact pressure-treated grades
Specify UC4A or UC4B ground-contact pressure-treated Southern yellow pine for all posts, beams, and joists sitting within 18 inches of soil. Above-ground UC3B lumber lacks sufficient chemical retention for damp, shaded under-deck zones. Crown every joist upward during layout so minor lumber bows flatten under walking loads rather than sagging.
Joist spacing and butyl tape protection
Space framing joists 16 inches on center for 5/4 pressure-treated or cedar decking, and tighten spacing to 12 inches on center for composite or PVC boards. Apply self-adhering butyl joist tape along the top edge of every joist and ledger board before laying planks. Butyl tape seals around screw shanks and blocks rainwater from soaking into upward-facing wood grain.
Attaching the Deck to Your House Correctly
Ledger board flashing done right
Removing siding before mounting the ledger
Never bolt a deck ledger board directly over vinyl, fiber cement, or wood lap siding. Cut away existing cladding cleanly down to bare structural sheathing so the ledger sits flush against solid framing. Leaving soft siding sandwiched behind the ledger crushes under bolt torque and creates a direct funnel for rainwater into your house wall.
Layering Z-flashing and housewrap properly
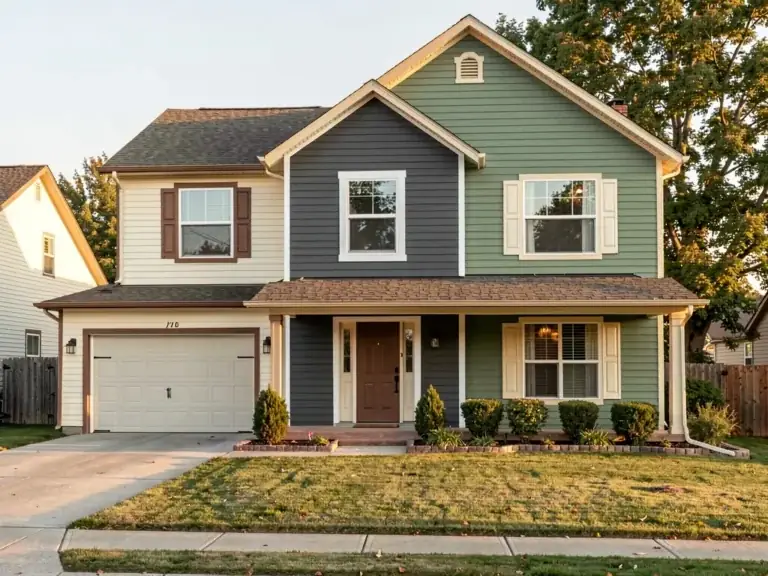
Install continuous corrosion-resistant metal Z-flashing over the top edge of the ledger board, tucking the upper vertical leg behind your housewrap. Water running down your exterior wall must shed over the front face of the ledger rather than behind it. Homeowners repainting adjacent siding during an exterior refresh often read ppg exterior paint reviews to pick moisture-resistant coatings that protect wall trim right above ledger joints.
Hardware that prevents water damage
Structural ledger fasteners and lateral tension ties
Replace outdated lag screws with modern structural ledger screws like FastenMaster LedgerLOK or Simpson SDS Heavy-Duty Connectors installed in a staggered W-pattern. Building codes also require at least two lateral load connectors per deck tying the deck joists directly to interior floor joists. Lateral ties stop the deck from pulling away from the house during heavy occupancy or high winds.
Essential structural hardware checklist
-
Hot-dipped galvanized or stainless steel joist hangers at every joist-to-ledger connection
-
1/2-inch through-bolts with washers and nuts for multi-ply beam-to-post connections
-
Lateral load tension ties anchored into interior framing bays
-
Non-corrosive copper-free aluminum or vinyl-coated Z-flashing (never bare aluminum against treated wood)
-
Structural hurricane ties connecting every joist to the drop beam
Fasteners, Railings, and Code Compliance
Why coated hardware matters near pressure-treated wood
Preventing galvanic corrosion in modern lumber
Modern Alkaline Copper Quaternary (ACQ) and Micronized Copper Azole (MCA) wood preservatives contain high copper levels that rapidly eat through standard electro-galvanized steel. Always specify G185 hot-dipped galvanized connectors or Type 316 stainless steel screws for coastal and salt-air regions. Using cheap indoor drywall screws or bare aluminum flashing against treated pine causes catastrophic structural failure within five years.
Hidden clips versus face-fastened deck screws
Grooved composite boards pair cleanly with stainless steel hidden fasteners that maintain uniform 3/16-inch drainage gaps between planks. For solid wood boards or perimeter picture frames, drive two coated trim screws per joist crossing roughly one inch from board edges to prevent splitting.
Guard and railing height requirements
Residential height and baluster spacing rules
According to the International Code Council (ICC) International Residential Code Section R312, any deck surface located more than 30 inches above grade requires a guardrail at least 36 inches high. Balusters or cable infill must be spaced tightly enough that a four-inch sphere cannot pass through any opening. Stairways with four or more risers also require a continuous graspable handrail mounted between 34 and 38 inches above stair nosings.
Blocking railing posts inside the rim joist
Never rely solely on two lag bolts driven into a single rim joist to hold a 4×4 railing post, because leverage snaps the rim board outward when someone leans hard against the rail. Install solid interior blocking between adjacent joists and secure each post with heavy-duty tension ties like the Simpson DTT2Z. Properly blocked posts easily withstand the mandatory 200-pound concentrated lateral load test at the top rail.
Finishing Touches That Extend Deck Life
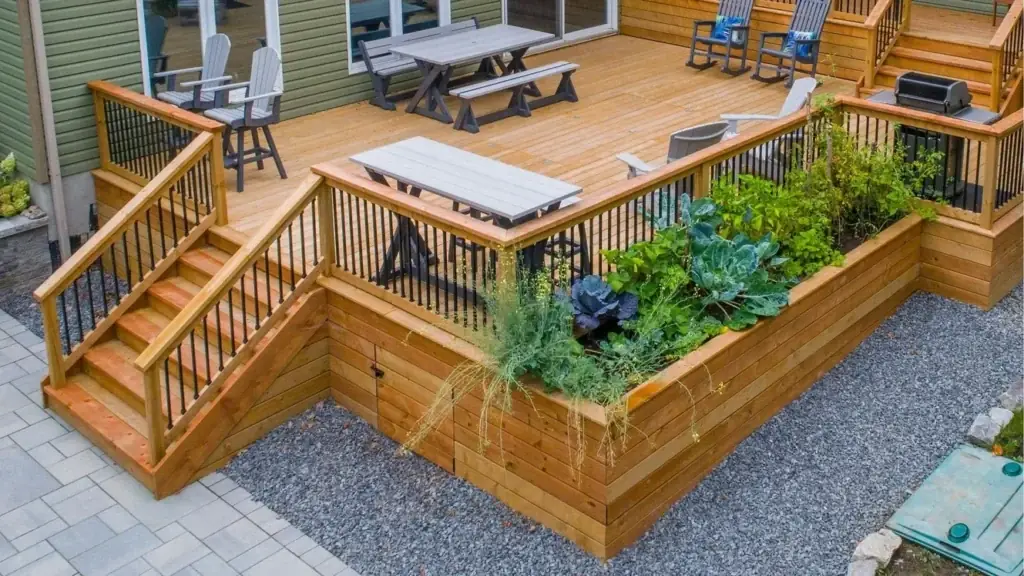
Water management and ventilation under the deck
Maintaining airflow beneath low-profile decks
Trapped ground moisture warps deck boards upward into cup shapes when the underside stays wet while the top bakes in sunlight. Leave at least six inches of open air clearance beneath joists, and install lattice skirting with wide ventilation openings rather than solid plywood panels. Good cross-ventilation equalizes moisture levels on both sides of every plank.
Sloping surface drainage and under-deck troughs
Slope your deck framing slightly away from the house at roughly 1/8 inch per foot so puddles never collect near the threshold door. If you want dry storage or a shaded patio underneath an elevated structure, install sloped EPDM or aluminum under-deck drainage troughs between joists before laying surface boards.
Sealing and maintenance schedules
Protecting natural wood versus low-upkeep cladding
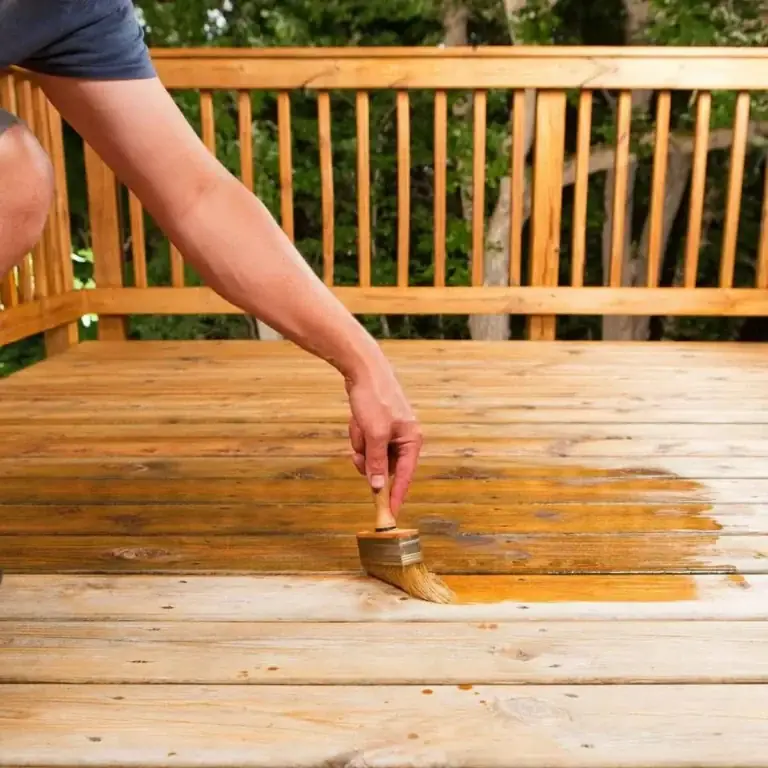
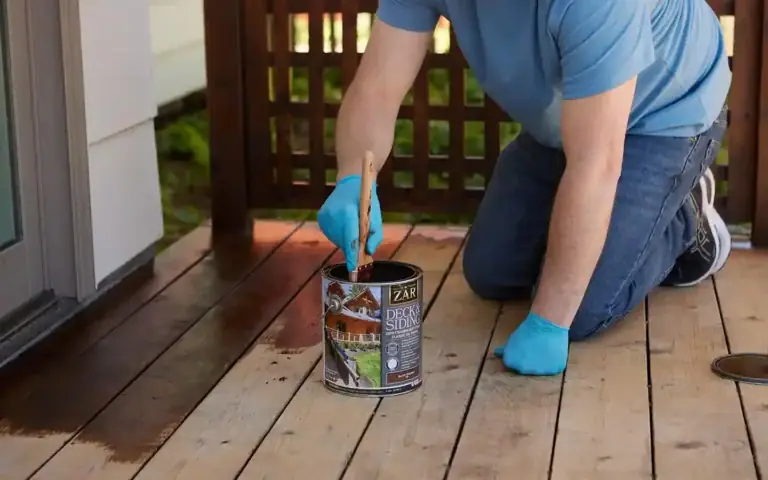
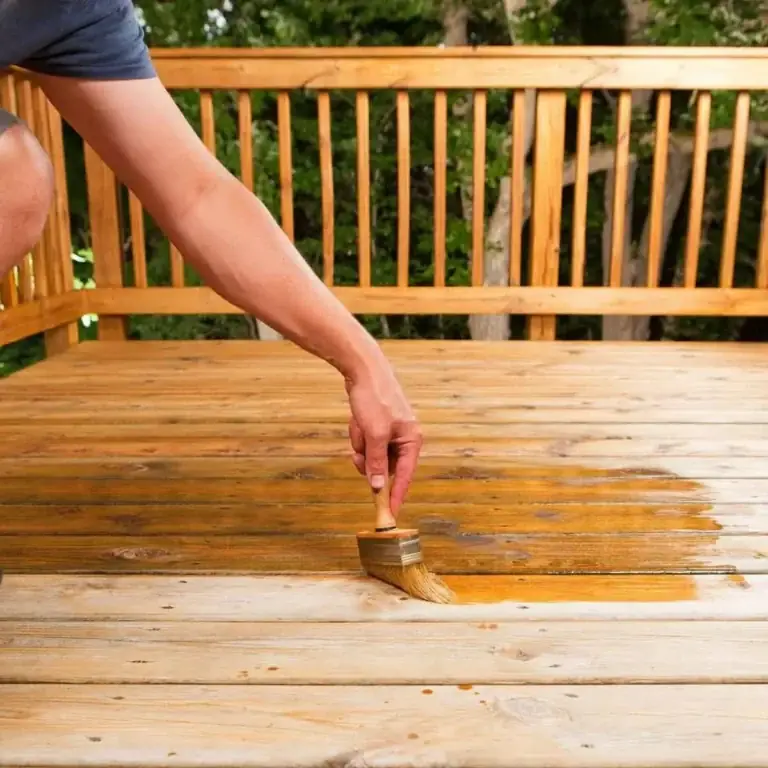
Cedar, redwood, and pressure-treated pine decks need gentle oxygen-bleach washing and penetrating oil sealer every two years to prevent UV graying and surface checking. Many homeowners tired of constant exterior staining research exterior paint alternatives and house painting alternatives when upgrading surrounding siding and trim so their entire backyard envelope stays low-maintenance.
Annual spring safety inspection routine
Walk your deck every spring to check ledger flashing seams, tighten loose railing post nuts, and clear wet leaves trapped between board gaps. Catching a corroded joist hanger or clogged scupper early costs twenty dollars instead of thousands in framing repairs.
Frequently Asked Questions
What are the most important deck building best practices for preventing collapse?
Proper ledger board attachment and flashing prevent the majority of catastrophic deck collapses. Always remove exterior siding so the ledger bolts directly into solid rim framing, install continuous Z-flashing above the ledger, and attach lateral load tension ties into interior floor joists.
How deep should deck footings be dug?
Deck footings must extend at least six inches below your local frost depth, which varies from 12 inches in warm southern climates to 48 inches or deeper in northern regions. Pouring concrete on undisturbed soil below the frost line stops winter ground freeze from lifting your posts.
Can you use standard galvanized nails or aluminum flashing with pressure-treated wood?
No, modern copper-rich pressure-treated lumber corrodes standard electro-galvanized steel and bare aluminum rapidly. Use only G185 hot-dipped galvanized hardware, Type 304 or 316 stainless steel fasteners, and vinyl-coated or copper-compatible flashing materials.
When does building code require a guardrail on a residential deck?
Residential building codes require a minimum 36-inch-high guardrail whenever any point of the walking surface sits more than 30 inches above the ground within 36 inches horizontally. Baluster openings must block a four-inch sphere from passing through.
Final Steps Before You Break Ground
Applying these deck building best practices ensures your outdoor living space passes city inspection on the first visit and stays rock-solid for decades. Focus on deep frost-line footings, flashed ledger connections, G185 or stainless hardware, and blocked railing posts before worrying about decorative lighting. Pull your local municipal span tables today, verify your contractor’s flashing details in writing, and inspect every structural connector before laying your first deck board.