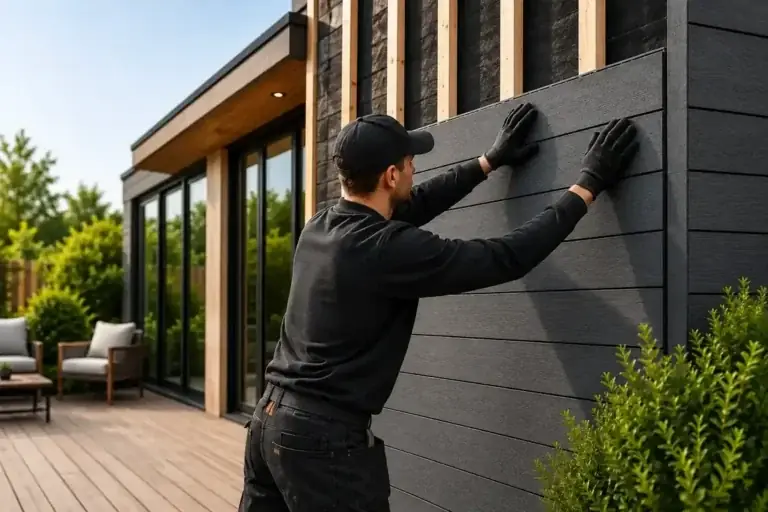
Vinyl Siding Installation Guide for a Flawless Finish
Following a reliable vinyl siding installation guide keeps exterior panels straight, quiet, and weather-tight long after harsh wind and rain hit your home. Vinyl panels handle seasonal weather swings well when installed with proper movement room, yet tight nailing or crooked trim ruins even a clean wall. Two springs ago, I helped my uncle re-side a breezy ranch house in Ohio, and snapping level chalk lines before touching a single panel kept every course crisp from corner to corner.
Vinyl Siding Installation Guide: Prep and Flashing First
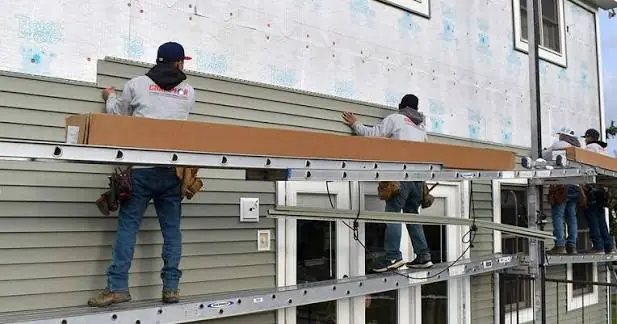
Checking flatness of the existing wall
Probing sheathing and framing planes
Start by stripping old damaged siding and checking sheathing boards for soft spots, rot, or old water stains. Any rotted plywood or OSB panel gets cut out back to solid framing studs and replaced with sound decking, similar to checking roof boards during a project matching the full roof replacement meaning.
Shimming dips and clearing debris
Check framing studs and sheathing across the wall with a long straightedge so high bumps or hollow dips do not telegraph outward. Sweep away loose nails, sawdust, and old caulk before hanging weather barriers or trim.
-
Wall Prep Checklist: Probe sheathing corners for rot, shim low spots flat, and sweep framing clean.
-
Moisture Barrier: Roll housewrap shingle-style from bottom to top with taped seams and flashed openings.
-
Trim & Channels: Install corner posts, starter strips, and J-channel plumb and level before field panels.
-
Fasteners: Use corrosion-resistant aluminum, galvanized, or stainless nails centered in slots without pulling tight.
Water-resistant barriers and window flashing
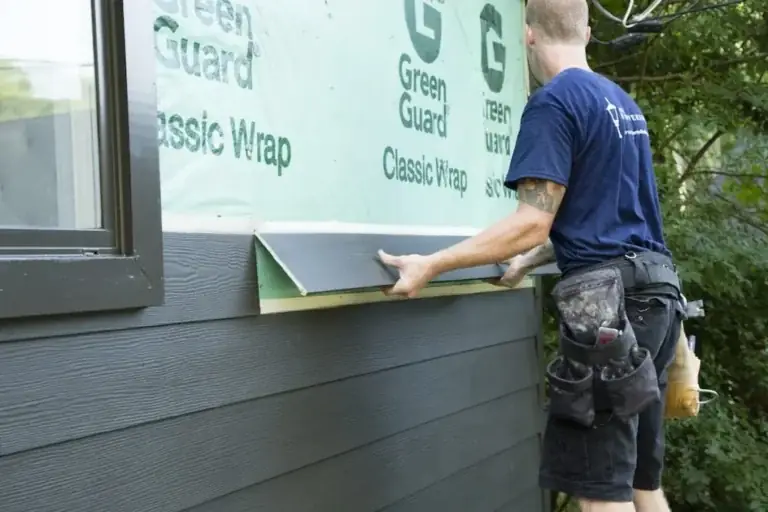
Lapping housewrap shingle-style
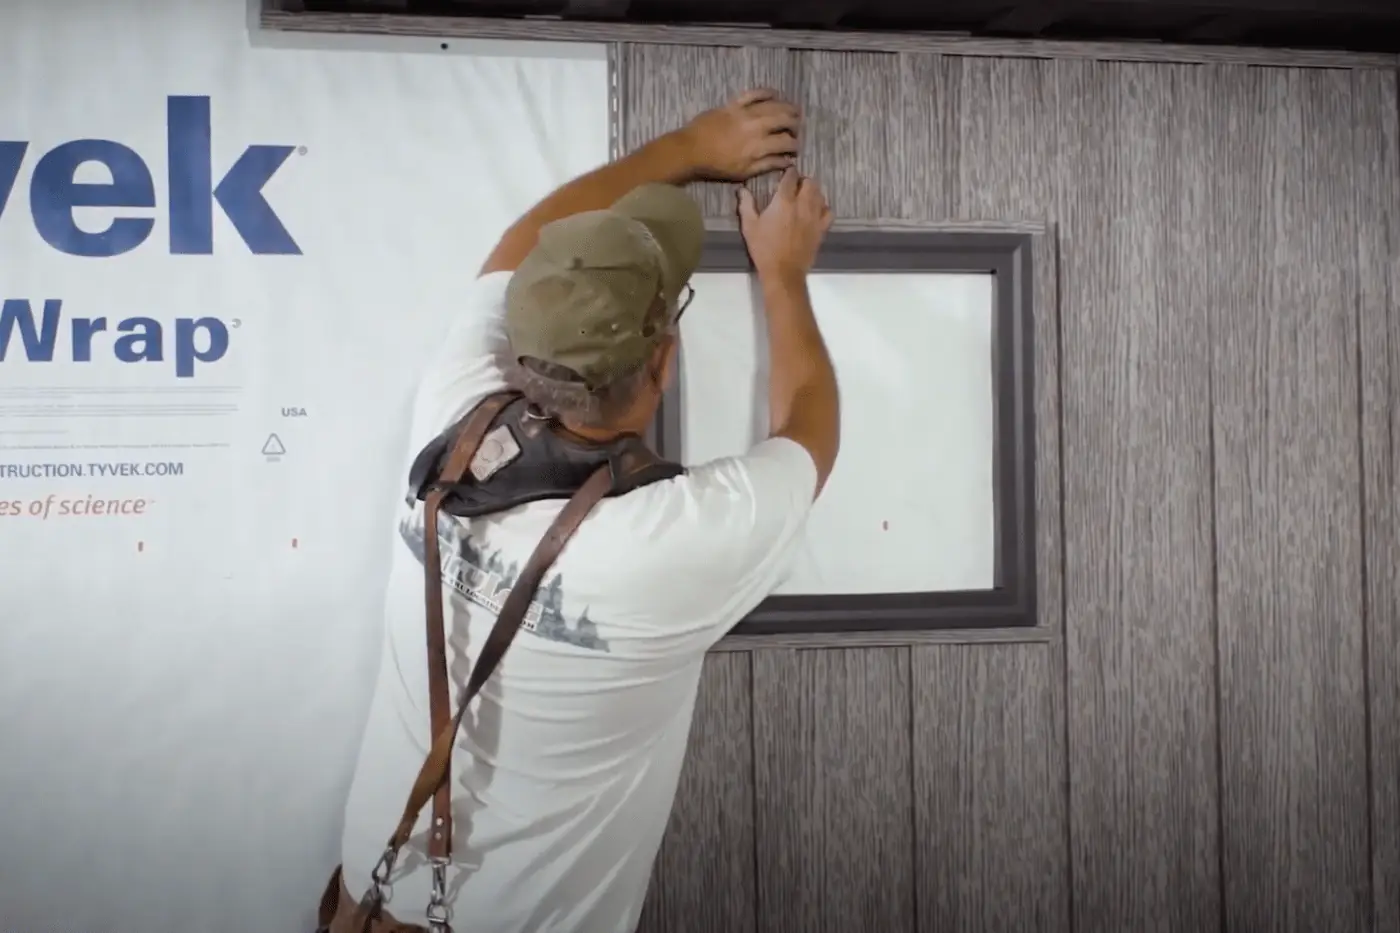
Roll out a water-resistant barrier from the bottom up so upper sheets lap over lower sheets by at least six inches. Taping vertical joints and sealing around utility penetrations keeps wind-driven rain from sneaking behind the wall.
Flashing windows and roof intersections
Install window sill pans first, followed by side jamb flashing and head flashing so water drains outward over the siding. Where a sloped roof meets a vertical wall, double-check step and kick-out flashing against the roof replacement definition so roof runoff never gets behind your cladding.
Starting Straight: Trim, Corners, and First Course
Installing corner posts and starter strips
Leaving expansion room at corner pockets
Fasten outside and inside corner posts plumb from top to bottom, leaving about 1/4 inch of clearance at the top below eaves or soffits. Keep panel ends slightly short of the inside corner pocket so vinyl panels can expand and contract freely as temperatures shift.
Securing starter strips along the base
Nail starter strips straight along your lowest reference line using fasteners spaced every eight to twelve inches. A clean, level starter strip locks the bottom edge of course one and sets visual alignment for every row above it.
Snaping a level chalk line around the house
Finding the lowest point on the wall
Walls rarely sit perfectly level from end to end, so measure down from the lowest reference point with a chalk line or laser level. Marking a crisp reference line across every wall keeps horizontal courses straight and prevents waves near gables.
Checking alignment every few rows
Measure up from your reference line every four or five courses to verify that panels stay true. Catching a slight drift early takes minutes, whereas fixing crooked lines near the roofline takes hours.
Hanging Panels and Nailing Without Damage
The loose nailing rule and why it matters
Centering nails inside slots
Vinyl expands and contracts noticeably between cold mornings and hot afternoons. Guidance from the U.S. Department of Agriculture Forest Products Laboratory (FPL) highlights proper fastener selection, spacing, and movement allowance so exterior materials perform reliably through seasonal changes.
Avoiding tight nails and face nailing
Drive nails straight into the center of each slot rather than pinning one end or nailing dead tight against the flange. Leave about 1/32 inch (roughly the thickness of a dime) between the nail head and the vinyl slot so panels glide smoothly.
Overlaps and staggering seams correctly
Minimum overlap and wind locking
Overlap horizontal panel ends cleanly according to manufacturer specs, and engage the bottom lock firmly along the full length of each piece. A solid snap along the bottom lock helps panels resist wind uplift during gusty weather.
Staggering vertical end laps
Avoid lining up vertical panel joints in neat columns across neighboring courses. Staggering joints spreads seam movement evenly and keeps walls looking natural from street level.
Details Around Openings and Final Checks
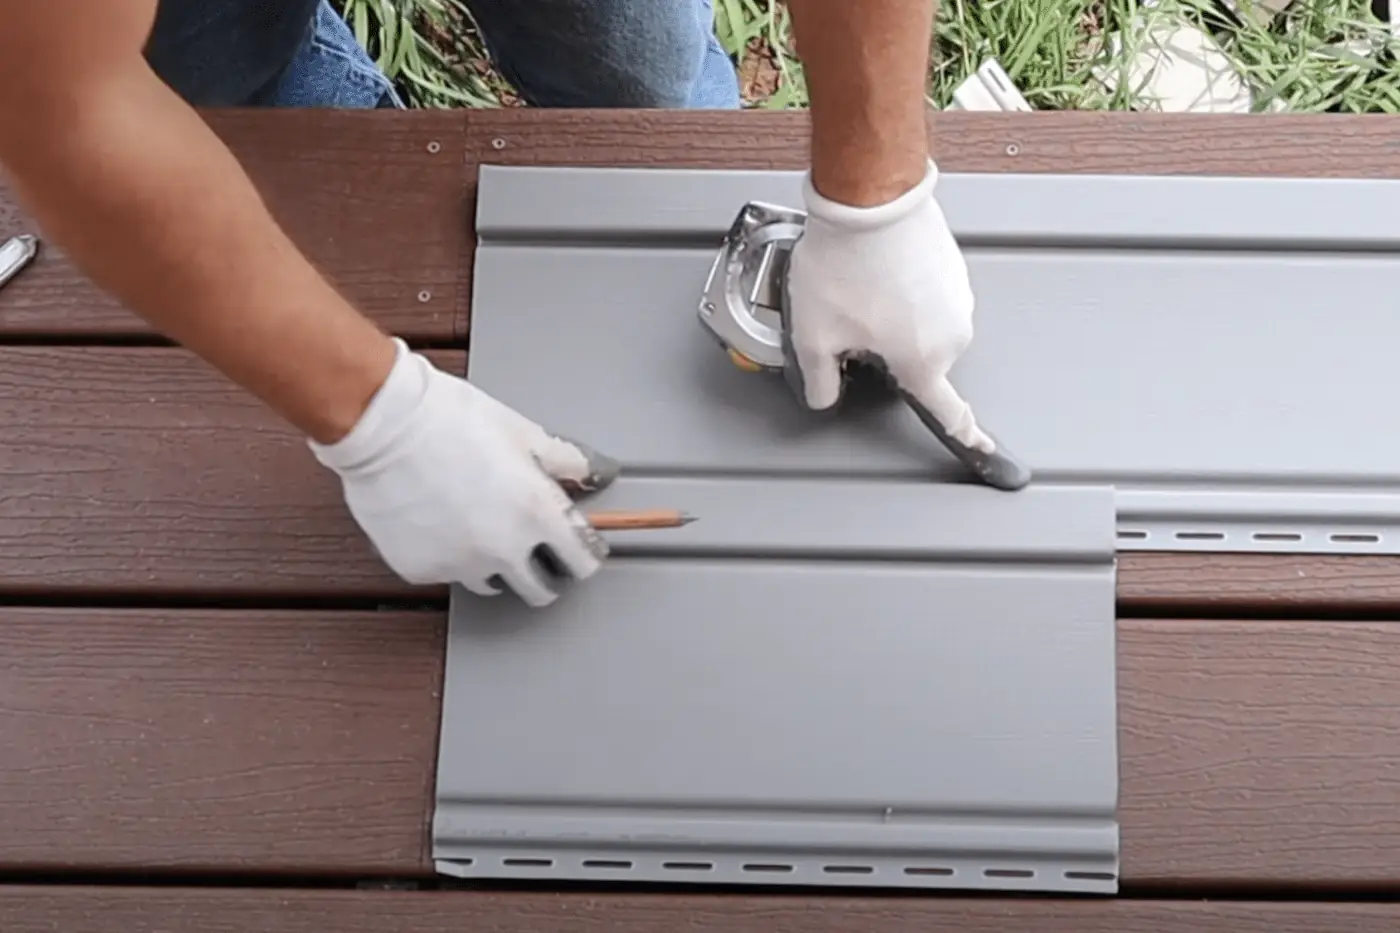
J-channel and utility trim at windows
Framing windows, doors, and fixtures
Install J-channel and window casing trim cleanly around openings with proper lap order so water sheds outward over the flange. Use mounting blocks around outdoor lights, hose bibs, and meter boxes so panels fit neatly without awkward cutting.
Checking storm coverage and records
Keep receipts, color names, and installation photos together in case severe weather ever damages exterior trim. Reviewing roof replacement coverage per endorsement meaning also shows how policy riders can affect storm claims when exterior components get battered.
Cleaning up, inspecting, and locking final courses
Using a zip tool on top and final courses
A siding zip tool lets you release and lock top courses cleanly beneath eaves, windows, or soffits without prying panels with a screwdriver. Always check that every panel locks smoothly from end to end before moving ladders.
Final walkthrough and yard cleanup
Walk every wall in bright daylight to check corner gaps, trim lines, and loose nail heads. Sweep stray nails and vinyl scraps from driveways, lawns, and garden beds before wrapping up.
Frequently Asked Questions
What is the golden rule in a vinyl siding installation guide?
Always center nails in the slots and leave slight room for expansion so vinyl panels can slide smoothly as temperatures change. Tightly nailed vinyl often buckles in summer heat or cracks in cold snaps.
Do you caulk vinyl siding seams and joints?
No, vinyl panels should not be caulked tight across seams or laps because panels need room to expand and contract. Apply exterior sealant only to specified trim joints or penetrations called out by the manufacturer.
Can you install vinyl siding over old siding?
Sometimes vinyl goes over existing siding if the old surface is flat, dry, and structurally sound, though removing damaged siding is safer when rot exists. Check local codes and manufacturer rules before skipping tear-off.
How far apart should nails be when installing vinyl siding?
Space nails every 12 to 16 inches along studs or approved nailing strips, following your specific panel manufacturer’s chart. Consistent spacing keeps panels flat and prevents sagging over time.
Measure Your Walls and Start Clean
Following a clear vinyl siding installation guide helps you prep walls right, keep panels moving freely, and finish every corner cleanly. Measure your elevations this week, check window flashing and starter lines before hanging panels, and inspect every lock before packing up.