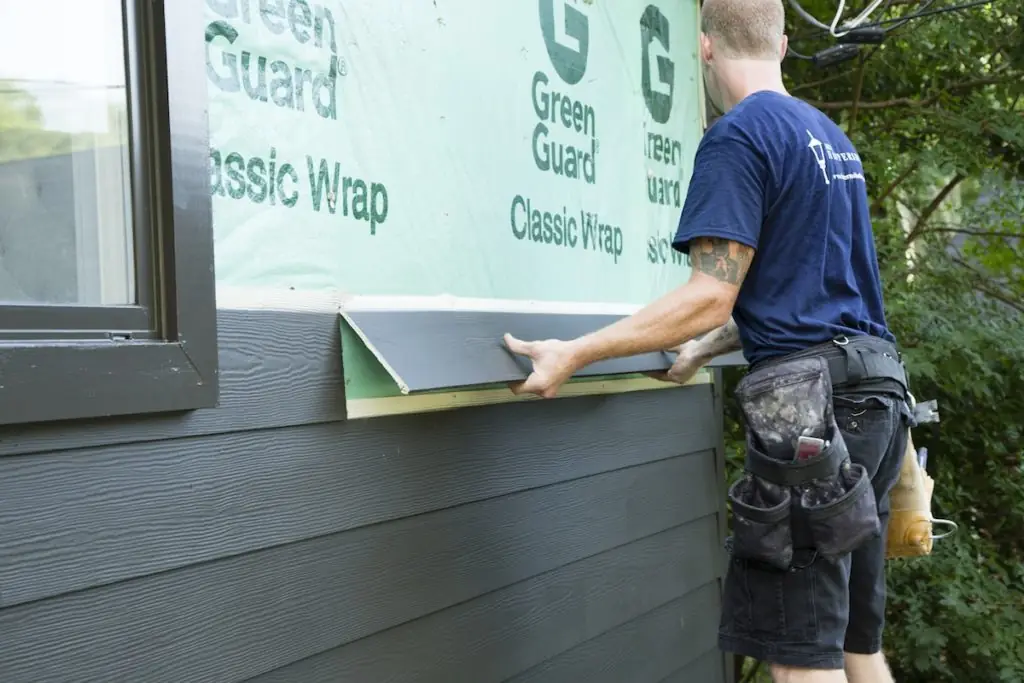
Siding Installation Steps: Clear Guide to Exterior Siding
Following disciplined siding installation steps keeps exterior walls dry, flat, and quiet long after summer heat and winter storms roll through. Good siding does more than dress up a house, because it shields framing studs and insulation from driving rain and sunlight. Two summers ago, I helped my brother-in-law hang fiber cement planks on a breezy garage wall in Minnesota, and snapping a dead-level chalk line before touching a single panel saved us from wavy courses near the eaves.
Siding Installation Steps: What to Do Before the First Panel
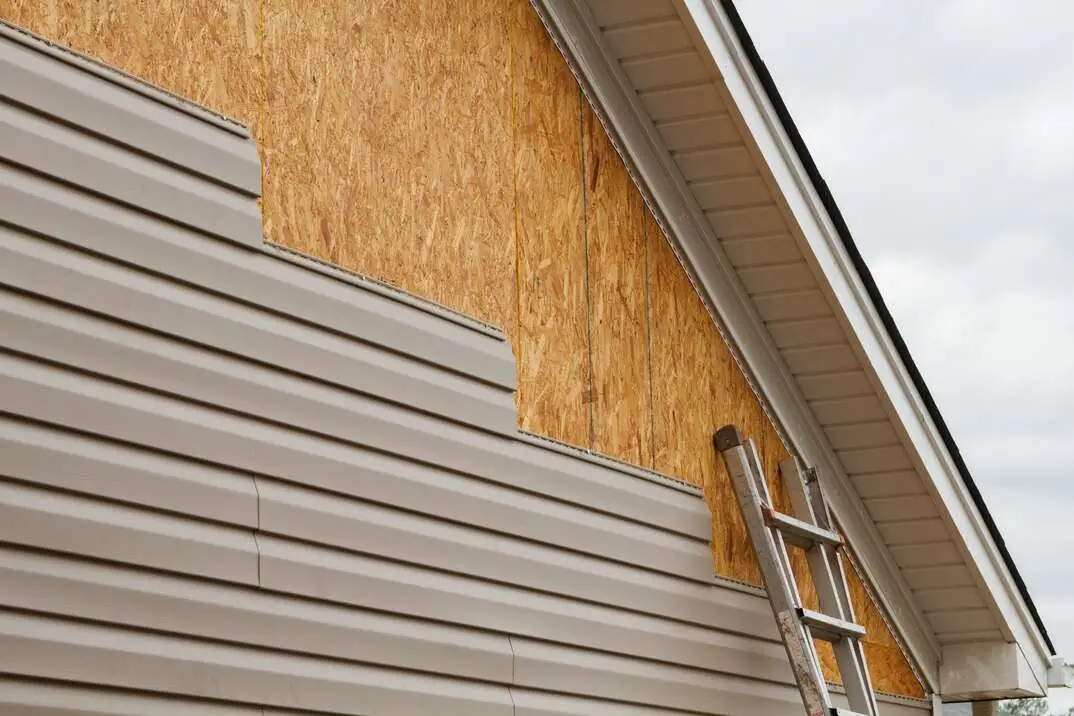
Inspecting and preparing the wall sheathing
Checking OSB or plywood before hanging panels
Stripping old damaged siding exposes your sheathing layer so soft spots or old leaks cannot stay hidden. Any rotted plywood or OSB panel gets cut out back to solid framing studs and replaced with sound decking, similar to checking roof boards during a project matching the full roof replacement meaning.
Fastening loose framing and clearing debris
Re-securing loose framing members and sweeping away old nails or sawdust creates a clean base for weather barriers. Solid framing keeps panels from shifting later when wind gusts press against wide wall spans.
-
Sheathing Audit: Probe bottom edges and window corners with an awl to catch hidden moisture rot early.
-
Weather-Resistive Barrier: Roll housewrap or membrane from the bottom up with six-inch horizontal laps and taped seams.
-
Window and Door Flashing: Install sill pans first, followed by side jambs and head flashing so water sheds outward.
-
Drainage and Furring: Add drainage mat or furring strips where local codes or siding makers call for extra drying space.
Installing house wrap, flashing, and furring
Lapping weather barriers shingle-style
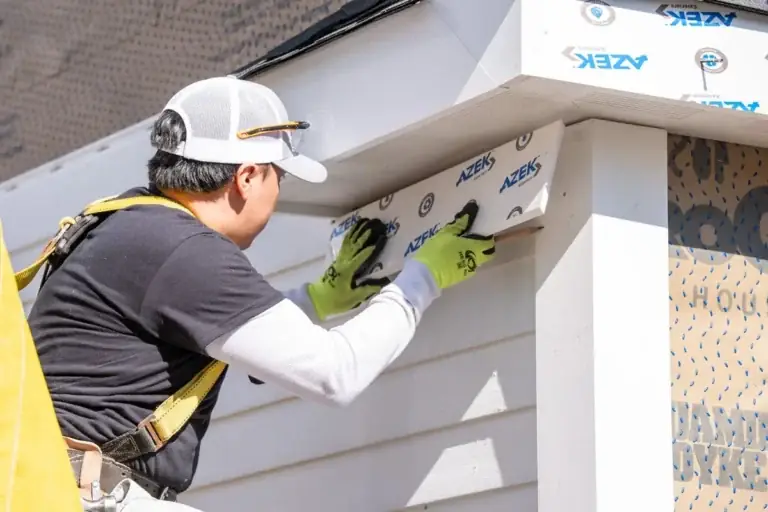
Housewrap works best when lower layers sit underneath upper layers so gravity sheds rainwater outward onto the siding face. Taping vertical seams and sealing around utility pipes stops wind-driven mist from sneaking behind the barrier.
Flashing wall-to-roof intersections
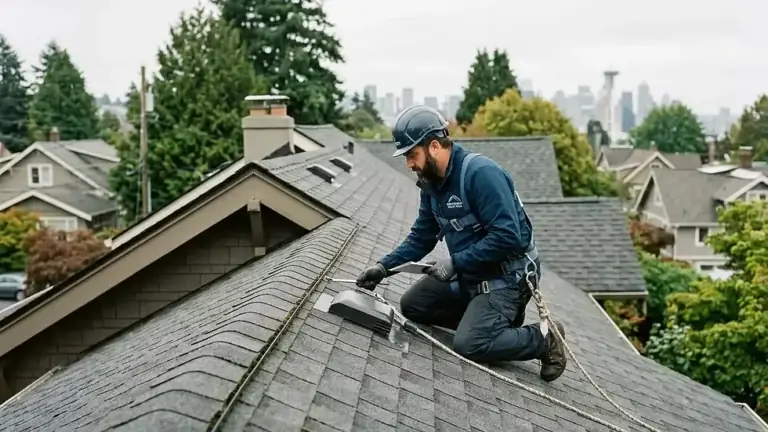
Where a sloped roof meets a vertical wall, flashing details must shed runoff cleanly without trapping moisture behind siding. Double-checking flashing against the roof replacement definition helps prevent hidden leaks around chimneys, dormers, and lower roof slopes.
Setting Starter Strips, Trim, and Corners
Establishing a level baseline around the house
Finding the lowest point with a level or laser
Every wall has slight variations from foundation settling or framing tolerances. Finding the lowest reference point with a chalk line, laser level, or water level keeps your bottom row straight across the entire elevation.
Setting starter strips for clean alignment
Starter strips lock the bottom edge of your first siding course snugly against the wall. Taking extra care on row one prevents crooked lines from compounding once panels climb toward gables and soffits.
Working around windows, doors, and outlets
Cutting around openings cleanly
Measuring twice before cutting panels around casings, meter boxes, and outdoor spigots saves waste and keeps edges tidy. Leaving clean clearances around trim lets caulk or sealant do its job without squeezing out messy globs.
Planning outside corners and trim boards
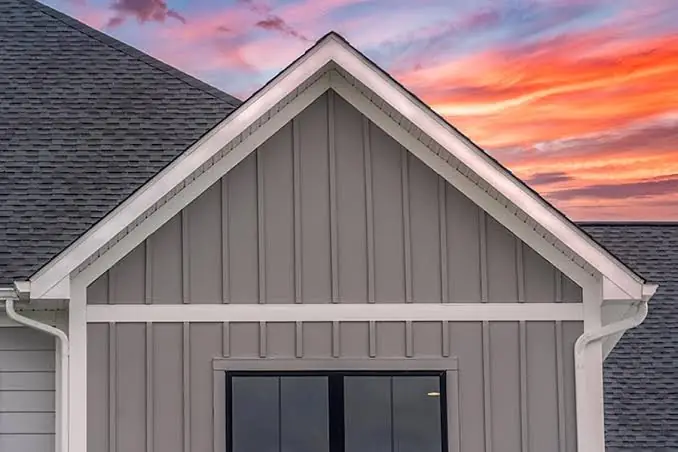
Plumbing vertical corner trim before running horizontal courses gives you crisp edges to butt panels against. Clean corner alignment makes a finished wall look sharp from both the driveway and the sidewalk.
Hanging and Fastening the Siding Correctly
Proper overlap and panel locking technique
Minimum lap coverage and staggered joints
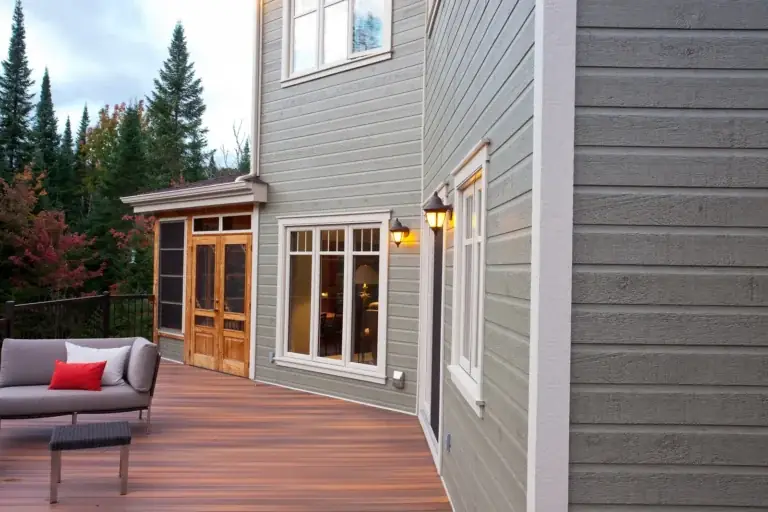
Horizontal courses must overlap enough to shed rain without letting wind blow water upward behind seams. Staggering vertical butt joints across neighboring courses avoids repeating vertical seams and spreads joint movement evenly.
Locking vinyl or fastening fiber cement
Vinyl panels snap or lock into the course below while hanging loosely enough to glide with temperature shifts. Fiber cement and wood planks sit snug against backing and get fastened directly into framing studs or rated sheathing per maker instructions.
Nailing patterns that allow for expansion
Corrosion-resistant nails and stud penetration
Guidance from the U.S. Department of Agriculture Forest Products Laboratory (FPL) highlights that proper fastener selection, spacing, and corrosion resistance prevent wood siding cupping, splitting, and staining. Using stainless steel or hot-dipped galvanized nails helps prevent rust streaks over decades of outdoor exposure.
Avoiding tight nailing and over-driven heads
Driving nails dead tight in the center of vinyl slots causes buckling when summer heat expands the plastic. Setting air pressure carefully keeps nail heads flush without splitting wood fibers or crushing panel edges.
Finishing Touches and Quality Checks
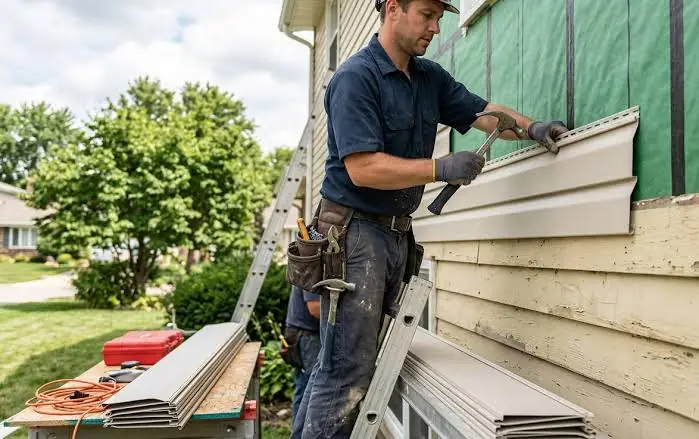
Installing J-channel, soffit, and corner caps
Finishing trim and overhead transitions
J-channels, corner caps, and soffit panels frame top, bottom, and side edges cleanly once field siding goes up. Leaving small drainage clearances at bottom edges lets trapped moisture escape rather than sitting against trim.
Checking storm coverage and records
Saving installation receipts, material lot numbers, and photos helps if severe weather ever damages exterior trim. Reviewing roof replacement coverage per endorsement meaning also shows how policy riders can affect storm claims when exterior components get battered.
Walking the wall to catch gaps and loose fasteners
Checking butt joints and sealant lines
Inspecting every course in good daylight reveals gaps, crooked cuts, or missed fasteners before scaffolding comes down. Sealing only specified trim joints and penetrations keeps drainage paths open where moisture needs to exit.
Final cleanup around yard and walkways
Sweeping stray nails, trim scraps, and fasteners from driveways, lawns, and garden beds protects tires and bare feet. A quick final walk around the house gives you confidence that every wall is buttoned up tight.
Frequently Asked Questions
What are the most important siding installation steps for a clean finish?
Accurate leveling on the starter course, shingle-lapped weather wrap with proper flashing, and manufacturer-approved fastening are essential. Skipping prep or over-tightening fasteners often shows up later as waves, buckles, or leaks.
Should I install house wrap before putting up new siding?
Yes, installing a weather-resistive barrier and window flashing before hanging siding adds a vital backup layer against wind-driven rain. Always overlap layers shingle-style from bottom to top so water drains outward.
How much gap should I leave for siding expansion?
Expansion gaps vary by material, so follow the specific siding manufacturer’s installation instructions for your climate. Vinyl needs room to slide in slots, while wood and fiber cement often need small clearances at trim and butt joints.
Should every seam on new siding be caulked?
No, never caulk horizontal lap joints or bottom drainage gaps where moisture needs a way to escape. Apply exterior sealant only to specified trim joints, penetrations, and transitions called out by the maker.
Follow Proven Siding Steps Before You Start
Following clear siding installation steps helps you avoid costly alignment mistakes and build a weather-resistant exterior that lasts. Measure your walls, verify flashing and house wrap details this week, and check every seam before wrapping up your project.