Cladding Installation Guide: Step-by-Step Exterior Setup
Following a solid cladding installation guide keeps exterior siding flat, dry, and rattle-free long after the first heavy storm hits. Cladding is the outer protective skin mounted over your wall framing or sheathing to shield a building from rain, wind, and sun. Two autumns ago, I helped my brother-in-law re-clad a breezy garage wall in Minnesota, and snapping a laser chalk line before hanging the first course saved us from crooked laps near the roofline.
Cladding Installation Guide: Planning and Preparation

Measuring walls and ordering the right quantities
Net wall area versus waste factor
Measure each wall elevation by multiplying width by height, then subtract window and door openings to get net square footage. Add a 10% waste allowance for straight horizontal laps, or bump that waste factor to 15% on diagonal patterns, dormers, and complex gables.
Accounting for trim and corner pieces
Order corner posts, J-channels, and drip caps alongside your main siding bundles so matching lots arrive together. Running short on trim mid-project often forces a second delivery trip or a color mismatch between dye lots.
-
Net Wall Area: Width times height minus window and door openings, measured accurately across every elevation.
-
Waste Allowance: Extra 10% to 15% material buffer for mitered corners, angled gables, and cut-off scraps.
-
Weather-Resistive Barrier (WRB): Housewrap or membrane rolls with 10% overlap allowance and flashing tape.
-
Fasteners and Trim: Corrosion-resistant nails or screws sized for your specific cladding thickness and framing depth.
Checking sheathing, WRB, and flashing first
Inspecting OSB or plywood before hanging boards
Pull off old damaged siding first and probe suspect sheathing corners with an awl to catch soft, water-logged wood. Any rotted board gets cut out back to solid framing studs before fresh exterior panels go up, much like checking the deck during a project matching the full roof replacement meaning.
Lapping WRB and window flashing shingle-style
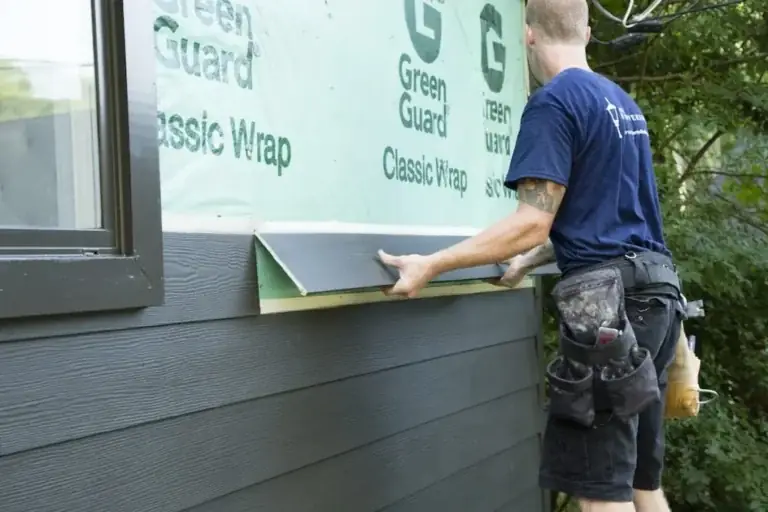
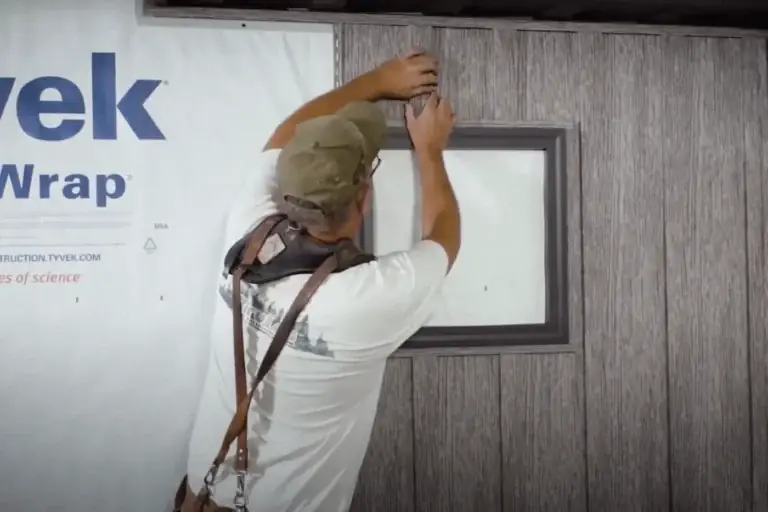
Roll out housewrap from the bottom up so upper layers overlap lower layers by at least six inches. Tape window sill pans first, then jambs, then head flashing so water sheds outward onto the cladding rather than behind the wall.
Getting the First Rows and Corners Right
Setting starter strips perfectly level
Finding the lowest point on the wall
Snap a chalk line from the lowest point along your foundation sill or bottom ledger board using a water level or laser. Even a one-inch dip across a forty-foot wall creates noticeable waves that stand out once sunlight hits the siding.
Fastening starter courses straight and true
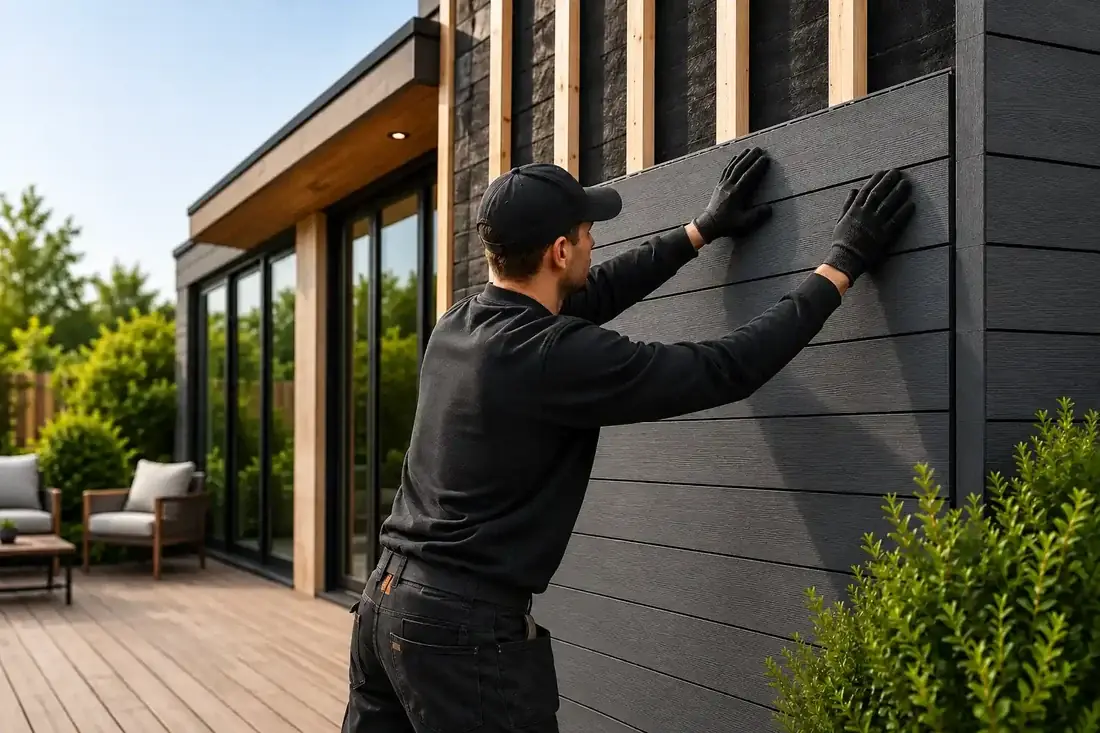
Secure starter strips into solid framing or rated sheathing using corrosion-resistant fasteners spaced every twelve inches. A straight starter row sets the rhythm for every course above it, preventing wavy horizontal lines near eaves and soffits.
Handling corners, openings, and trim details
Inside and outside corner alignment
Install outside corner trim plumb from top to bottom before cutting horizontal siding courses into place. Leave a tight, consistent gap against corner boards so water drains freely without wicking behind the trim.
Framing windows, doors, and roof-to-wall joints
Keep siding ends cleanly gapped against window casings and kick-out flashing at roof intersections. Where a sloped roof meets a vertical wall, double-check step flashing against the roof replacement definition so roof runoff never sneaks behind your new siding.
Fastening, Overlaps, and Expansion Gaps
Nail and screw patterns by cladding type
Penetrating studs or rated sheathing
Drive stainless steel, hot-dipped galvanized, or coated fasteners flush with the face without crushing fibers or dimpling soft metal. Research from the U.S. Department of Agriculture Forest Products Laboratory (FPL) shows that proper fastener length, spacing, and corrosion resistance are vital to prevent siding cupping, splitting, and nail-head stains.
Avoiding over-driven heads and shiners
Set pneumatic gun air pressure low enough that nail heads sit flat without tearing through thin flanges or fiber cement faces. Always angle fasteners cleanly into framing studs or approved structural sheathing so heads never pop loose as wood seasons.
Leaving room for thermal movement
Expansion gaps on vinyl, metal, and wood
Vinyl panels and aluminum trim expand and contract noticeably between freezing mornings and hot afternoons. Never nail vinyl dead tight through the center of a slot, or the panel will buckle and wave when temperatures rise.
Butt-joint sealing and clear drainage paths
Leave recommended manufacturer gaps—often 1/8 inch to 3/16 inch—at butt joints and where siding meets trim. Keeping those clearances open allows moisture to drain out instead of getting trapped inside tight joints.
Finishing, Sealing, and Final Inspection
Caulking joints and penetrations correctly
Sealing trim-to-trim and fixture gaps
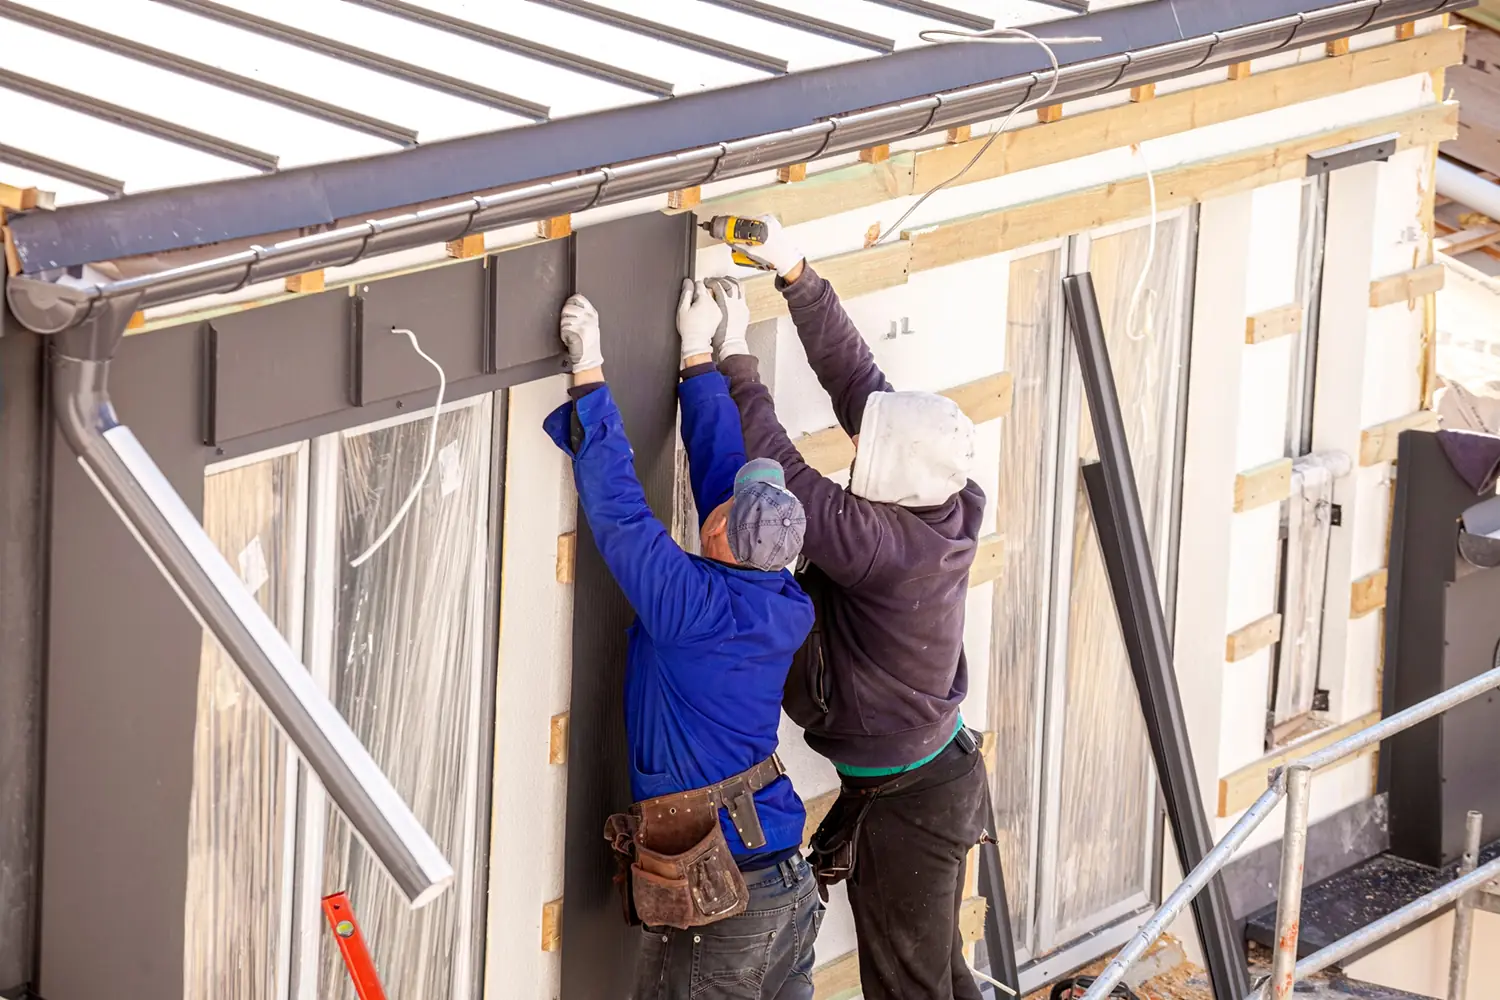
Apply high-grade exterior sealant only where manufacturer instructions call for it, such as trim-to-trim butt joints, utility penetrations, and mitered corners. Avoid sealing horizontal lap seams or bottom drip edges that must stay open for drainage and ventilation.
Tooling beads for a clean shed profile
Smooth fresh caulk beads with a gloved finger or rounded tool right after dispensing so edges bond tightly to both surfaces. Clean tooling sheds rainwater away from gaps and leaves crisp lines around hose bibs, vents, and light fixtures.
Inspecting drainage gaps before handover
Checking weep openings and kick-out flashing
Walk the perimeter after installation to confirm kick-out diverters sit cleanly above roof shingles and gutters. Make sure bottom starter edges and weep screes remain clear of soil, mulch, and heavy garden beds.
Reviewing warranty and claim documentation
Keep receipts, lot numbers, and installation photos together in case storm damage ever requires a claim. Checking roof replacement coverage per endorsement meaning also helps clarify how exterior riders handle storm repairs alongside your dwelling coverage.
Frequently Asked Questions
What is the best cladding installation guide rule for beginners?
Start with dead-level layout lines and dry-fit your first two courses before fastening everything permanently. Small measuring or leveling mistakes at the bottom multiply quickly once you reach upper gables.
Do I need a drainage gap behind exterior cladding?
Yes, allowing a drainage and drying gap behind cladding helps moisture escape before it damages wall sheathing. Always follow the manufacturer’s required furring or ventilation clearance for your specific siding material.
How far above the ground should cladding start?
Keep siding at least six to eight inches above finished soil or grade, and stay clear of splash zones from walkways or patios. Proper ground clearance prevents ground moisture wicking and keeps pests away from lower boards.
Should I caulk every single gap around windows and siding?
No, never caulk horizontal lap joints or drainage openings where moisture needs a way out. Caulk only specified trim joints, penetrations, and transitions using compatible exterior sealant.
Put This Cladding Guide to Work on Your Wall
Using a disciplined cladding installation guide helps you spot prep shortcuts early and build a cleaner, longer-lasting exterior wall. Measure your elevations carefully this week, verify your weather barrier and flashing details before hanging a single board, and double-check every gap before wrapping up the job.